Smooth Skin Perfectly With Photo Editors
Don’t know the proper rules and guidelines? In this case, it can be difficult to strike the right balance between adding just the right amount of touch-ups and unintentionally making your images look fake and doll-like. Each photo editing tool and platform has its own set of guidelines and features. However, there are some elements that they all have in common. So, knowing what to avoid and what mistakes to correct can make a huge difference.
Let’s examine the techniques of skin blurring and smoothing before talking about how to do it perfectly.
How to smooth skin
You can blur your skin or the entire image using the blur option found in the majority of photo editors. Moreover, if you want something decent, you can apply it to either certain sections of the image or the whole thing.
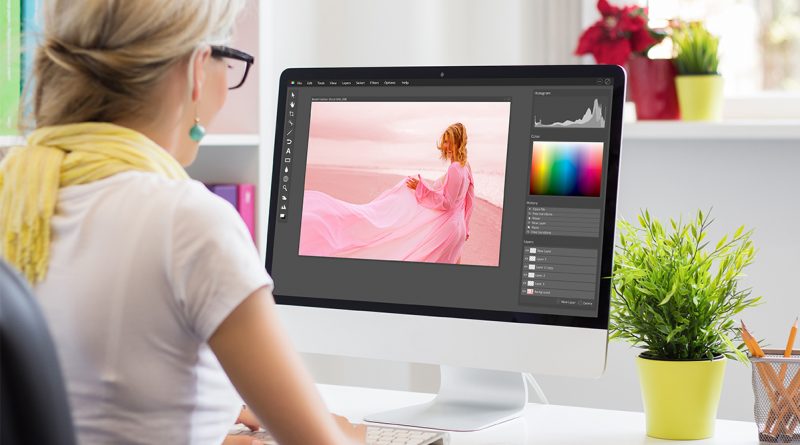
With the use of specialized blurring brushes and tools, you can select to automatically blur imperfections. Also, you can correct spots in photo editing software. For this purpose, Photoshop, for example, includes a Spot Healing Brush. Moreover, nearly all Facetune’s filters and makeup effects have this feature to some extent.
Mistakes to avoid
Smoothing skin out doesn’t always result in a good, polished end appearance. You can perform some simple searches to find more ideas for editing images. Alternatively, you can draw inspiration from well-liked photography and editing methods.
Even the rules can change whether you’re trying for an ethereal or spooky aesthetic or if you want something more abstract.
Not considering the original
If you don’t constantly compare the image you’re editing with the original one, it’s simple to overedit. This makes it simple to lose sight of how drastically different it is looking. Moreover, you could feel like you keep making changes until it no longer resembles the original or what you had in mind.
As you proceed, keep turning to the original photo for reference. It will help you determine how much you want to change without drawing undue attention to the editing.
Not calibrating your computer screen
Your computer or phone’s display settings may change how colors seem to you and give them a particular tint. It is usually yellow to prevent eye strain. Therefore, if the display quality on your phone or monitor is less than what you need, photos may not display as they would on other devices.
As a result, you can unintentionally produce subpar editing results. To avoid this, make sure your screens are all set to default before you start working.
Making everything smooth
You could often feel the want to remove all the flaws and blemishes on your face. However, zooming in on the pictures won’t help and you might get skin that doesn’t quite appear human.
Besides, remember that natural skin has at least some texture. Therefore, that smile lines, wrinkles around your eyes, and other flaws help to make your images appear more authentic and human.
Don’t misuse the blurring effect or smooth out everything in the photographs. Even a few wrinkles, beauty spots, and under-eye bags might be desirable to leave on. With professional models showing off their under-eye bags and cosmetic businesses creating products so people can add freckles to their skin, all these traits are now viewed as highly appealing in some situations.
Less is better
Conventional wisdom still stands and serves as a solid foundation for editing photos. A photograph with too many edits will look artificial. It will have blurred lines and dulled color contrasts. So, avoid being a victim of excessive editing. On the other hand, the absolute best images begin with a fantastic photo, taken with the ideal camera settings and lighting. Also, we know that this might be a headache, particularly if we are just starting out with photography and want to put our editing skills to the test.
Identify the layers and actions
The improper application of the layer and action methods is yet another serious mistake made when editing. Simply said, this gives the impression that a young child was playing with your photo editor. However, professional layering techniques can improve the quality of a shot. But they require a lot of work, so be sure to set aside the time.
Over-cropping can cause disaster
Make sure you are aware of the specific photo program that will be used if you are setting up a picture for a customer and want it to look its best. The complete image is always the best image; print it out to see what you have before you chop and change. To ensure you get the ideal crop when working for a client, be careful to understand how they plan to use the photo.
Best techniques for skin smoothing
Take your time while blending skin characteristics. Moreover, work next to the original image so you can tell when you’ve overdone it and the skin starts to look fake. While briefly popular, the plastic Barbie doll style has long since gone out of trend. New picture editors often make this mistake while attempting to create the image of flawlessly smooth skin.


